How is the sealing of polyethylene joints
In the plumbing industry, sealing polyethylene joints as one of the most important elements plays a fundamental role in ensuring the quality and performance of plumbing systems. In this article, details related to sealing of polyethylene joints will be discussed.
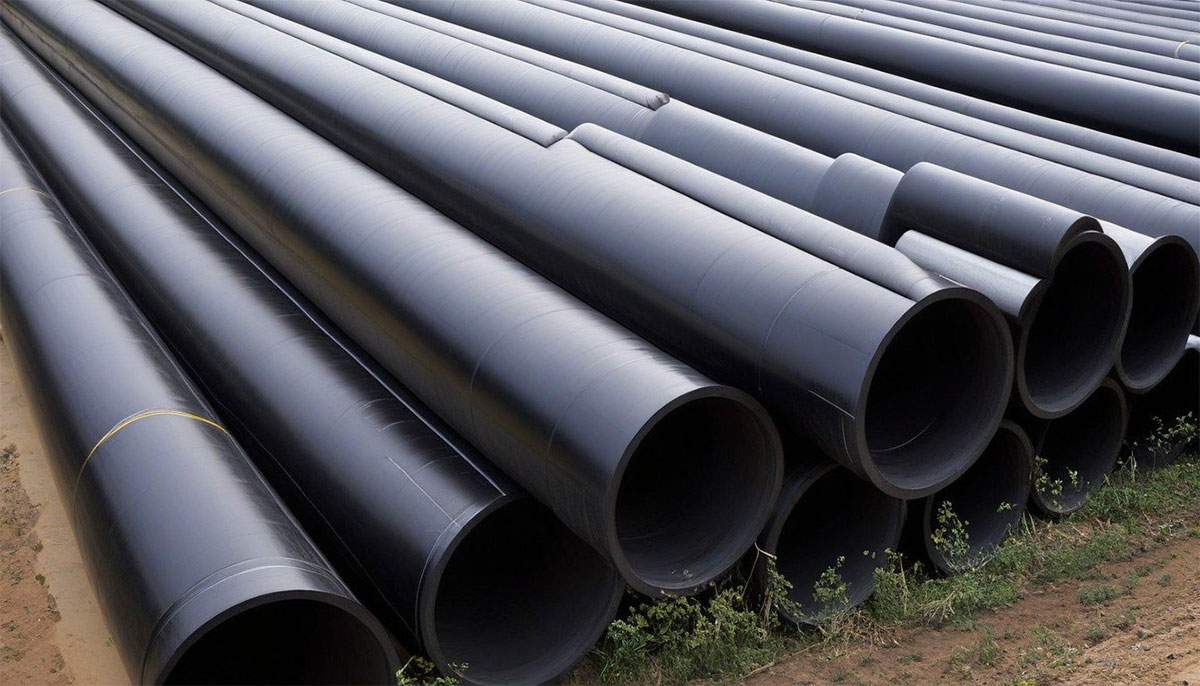
polyethylene pipe sealing
Polyethylene pipe sealing is one of the vital steps in the plumbing process, which is very important to prevent water leakage and maintain the quality of the plumbing system. Below is the explanation of the main steps of polyethylene pipe sealing
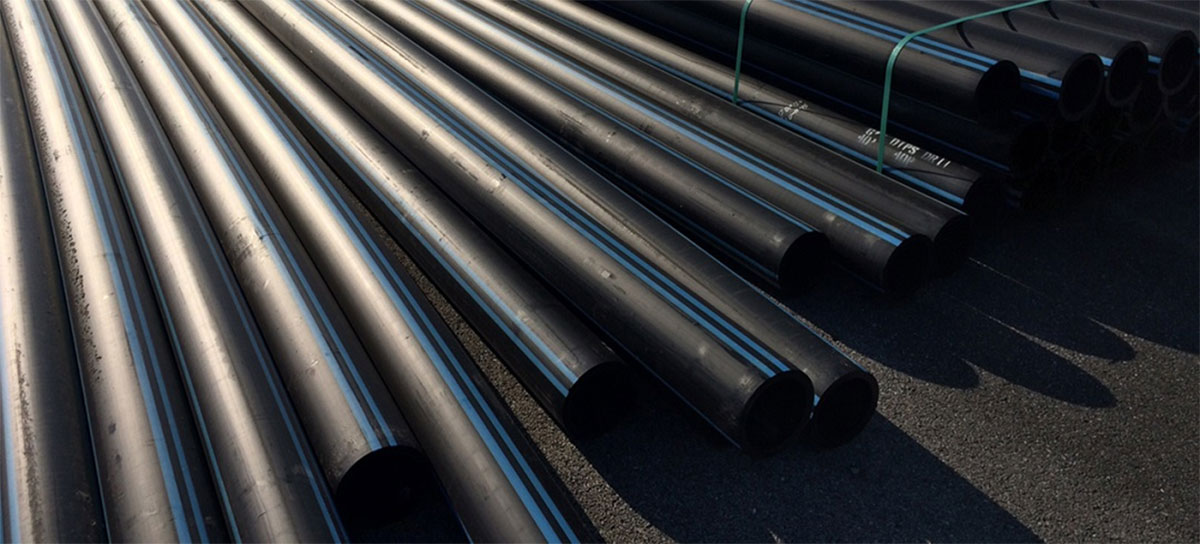
1. Selection of quality materials
The beginning of every sealing process begins with the selection of quality and standard materials. Pipes and connections must be made of polyethylene with the necessary standards and meet the needs of the project.
2. Pipe surface preparation
First of all, the surface of the pipes must be properly prepared. This includes thorough cleaning and removal of any possible particles and contamination. The surface of the pipe must be dry and clean so that the sealing can be done well.
3. Sealing with suitable connections
Using proper fittings is very critical in the sealing process. Fittings must be properly selected and installed on the pipe with high precision. Different connections such as polyethylene pipe screw connections, welding and electrofusion should be installed correctly.
4. Use of sealing materials
Using suitable sealing materials on joints is critical. These materials are used as o-rings, rubbers, belts or sealing adhesives (depending on the type of connection) and guarantee the prevention of water leakage.
5. Check and leak test
After sealing, the test phase and water leakage test are performed. At this stage, using special tools, it is ensured that there are no defects or leaks in the connections. Tests such as pressure test, leak test, weld test in welded joints and electrofusion
6. Maintenance and management
Sealing is a permanent process and requires constant maintenance. Any leaks or breakdowns should be repaired immediately to avoid bigger problems.
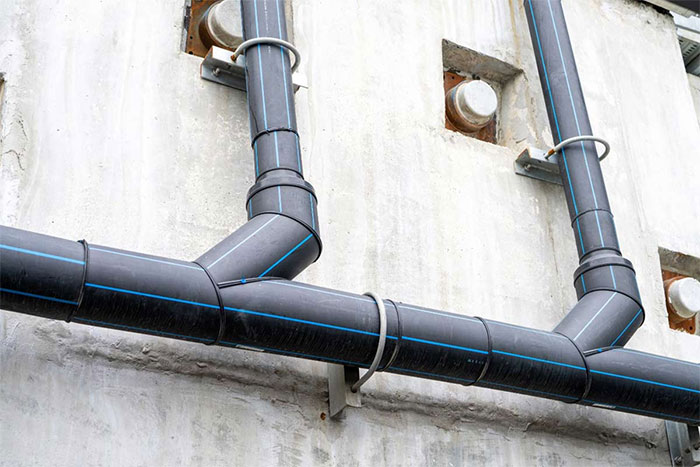
How to connect the connector to the polyethylene pipe (coupler)?
1. Preparation:
Surface cleaning and preparation: Start by cleaning the pipe surfaces to ensure a clean connection. Free the pipes from any dust or debris that might prevent a secure connection.
Cutting the pipes: Cut the pipes to the required lengths and make sure the cuts are smooth and uniform.
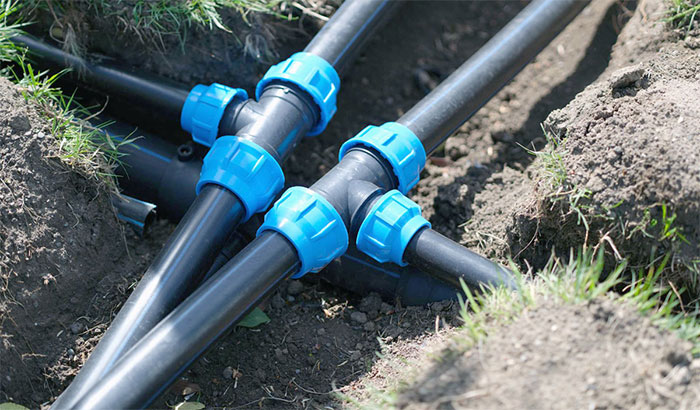
2. Choosing a polyethylene coupler:
Selecting a coupler: Choose a suitable polyethylene coupler for the pipes. The coupler must match the size and type of pipes.
3. Connecting the pipes to the coupler:
Putting the tubes into the coupler: Carefully insert the tubes into the coupler and ensure a snug fit. Some couplers may have a locking mechanism that automatically secures the connection.
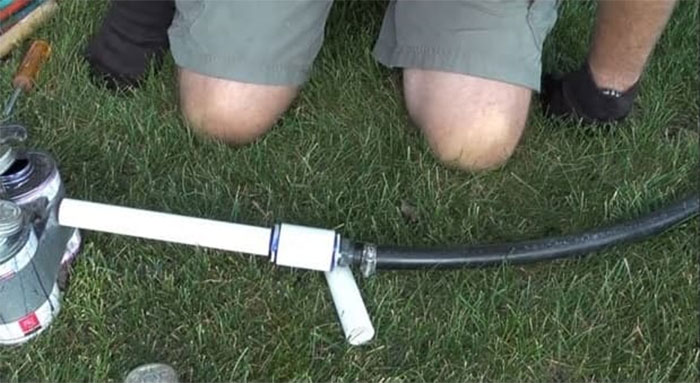
4. Waterproof:
Using waterproof material: Apply waterproof material to the connection points. This can include the use of a special grease or sealing compound to ensure a tight seal.
5. Pressure test:
Perform a pressure test: After completing the connection, perform a pressure test using specialized tools. Gradually increase the pressure to make sure there are no leaks and the connection is secure.
6. Final approval:
Connection check:
Check that the connection is secure and there are no signs of leakage. If you are using a coupler with a visual indicator, make sure it shows the correct connection.
Installing a polyethylene coupler is like composing a symphony where every note is a step towards a harmonious connection.
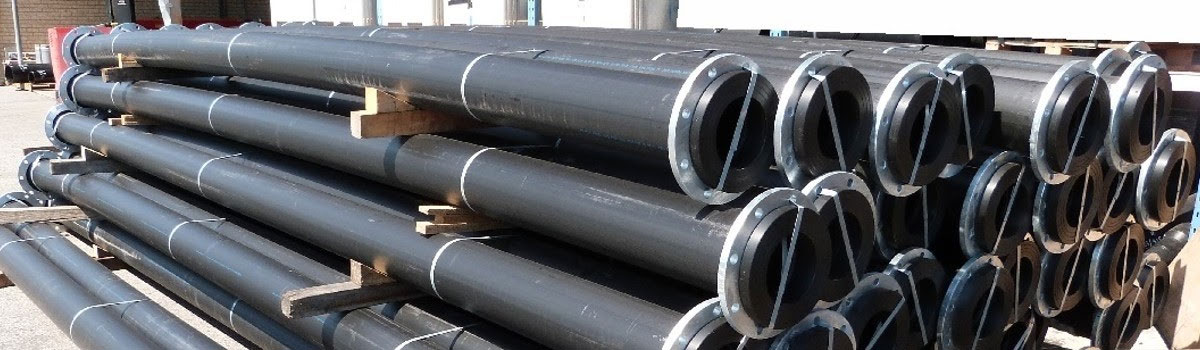
How to connect a polyethylene tee to a polyethylene pipe
Installing a polyethylene tee involves a series of steps to ensure a secure, leak-free connection. Here is a guide to installing a polyethylene tee:
1. Preparation:
Clean the pipes: Start by cleaning the surfaces of the pipes where the tee will be installed. Remove any dirt, debris or moisture that could affect the connection.
Cutting pipes: measure the pipes and cut them to desired lengths. Make sure the cuts are clean, smooth and free of burrs.
2. Choosing a polyethylene tee:
Choose a tee fitting: Choose a polyethylene tee fitting that matches the size and specification of the pipes. Make sure the tee is designed for polyethylene pipes.
3. Marking of connection points:
Marking on pipes: Use a marker to mark the insertion points on the pipes where the tees will be attached. This helps ensure accurate alignment during installation.
4. Tee placement:
Insert the tee: Gently insert the tee fitting into the marked spots on the pipes. Polyethylene tees often have a suitable design that determines and facilitates the amount of pipe recess inside the tee
5. Securing the connection:
Using clamps or clamps: Depending on the type of tee, use clamps or clamps to secure the tee to the pipes. Ensure a tight fit to prevent any movement.
6. Waterproof:
Using waterproofing material: Depending on the type of tee, apply a suitable waterproofing material around the fittings to prevent possible leakage. It can be in the form of a sealing compound or tape.
7. Pressure test:
Do a pressure test: Do a pressure test to check for any leaks. Gradually increase the pressure in the system and check the tee fitting for any signs of leakage.
8. Final inspection:
Check the connection: After the pressure test is successful, visually check the tee connection to make sure it is secure, level, and free of leaks.
By following these steps, you can safely install a polyethylene tee and create a reliable connection in your plumbing system.
9. Burying or securing pipes:
Pipe placement: If pipes are part of an underground system, place them as needed. Ensure proper alignment and support to prevent stress on the tee and surrounding fittings.
Secure pipes: Use proper methods to secure pipes in place, especially where movement or vibration may occur.
10. Filling the pipe support and connection (if underground):
Trench Backfill: If pipes are installed underground, carefully backfill the trench and make sure tees and pipes are adequately supported. To prevent soil retreat, compress the soil in several layers.
11. Final reviews:
Inspect for Leaks: Do a final visual inspection to make sure there are no visible leaks around the tee fitting. Solve any problem quickly.
- Alignment Check: Check the alignment of tees and pipes. The pipes should be straight and the tee should be perpendicular to the pipes.
- Ensuring System Integrity: Ensure that the entire plumbing system is intact and that the installation of the tee has not damaged the integrity of the system.
12. Documentation:
Record installation details: Keep a record of the installation, including date, materials used, and any special considerations. These documents can be valuable for future references.
13. Routine supervision:
Regular Checks: Include routine checks in your maintenance schedule to monitor tee connections and the overall condition of the plumbing system.
By performing these additional steps, you ensure the longevity and reliability of your polyethylene tee installation. Regular maintenance and inspections will help your plumbing system function efficiently over time.
polyethylene pipe screw connections
Installing polyethylene screw connections on pipes is a simple process and the following steps can guide you in the installation:
1. Prepare the tubes:
Clean the ends of the pipes: Start by thoroughly cleaning the ends of the polyethylene pipes. Remove any dirt, debris, or contaminants that may prevent proper sealing.
Cut the pipes: measure and cut the pipes to the required length using the appropriate cutting tool. Ensure clean, square cuts for optimal connection.
2. Choose polyethylene screw connections:
Choose fittings: Choose the right polyethylene screw fittings for your pipes. Make sure the fittings match the size and type of pipes.
3. Teflon glue (optional):
Wrap Teflon tape: If the screw connections are not already covered with sealant, wrap Teflon tape around the threaded part of the connections. This provides an additional layer of sealing.
4. Screw the fittings onto the pipes:
Hand-Tighten First: Start by hand-tightening the screw connections to the pipe threads. Make sure the threads are gently engaged.
Use a wrench if needed: If hand tightening is not enough, use adjustable wrenches to tighten the fittings on the pipes. Be careful not to overtighten, as this may damage the threads.
5. Balance check:
Confirm Correct Check: Verify that the fittings are properly aligned with the pipes. Misalignment can lead to leakage and compromise the integrity of the connection.
6. Pressure test (optional):
Do a pressure test: If present, do a pressure test to check for any leaks. Gradually increase the pressure in the system and check the connections for signs of leakage.
7. Final inspection:
Check the connection: Perform a visual inspection of the installed screw connections. Look for any visible signs of leakage or irregularities.
8. Documentation:
Record installation details: Record date of installation, types of fittings used and any special considerations. This documentation can be useful for future maintenance.
9. Usual reviews:
Incorporate regular inspections: To ensure continued reliability, include routine inspections of bolted connections into your maintenance schedule.
By following these steps, you can effectively install polyethylene screw fittings on pipes and create a safe and reliable connection in your piping system.